Animals
- I'm Not Going Anywhere
Every once in a while, an evening comes alongwhen I say to myself..."Maybe I should stop writing this blog."That thought usually enters my mind at the end of a busy day...when all I want to do is go to sleep...not fight with Blogger or You-tube or any...
- In The Garden
It's official.Spring has signed on the dotted line...another three month lease...sending Winter back from whence he came. She wasted no time in unpacking her trunks...trunks full of new growth, and insects and song birds.In the process of moving in,...
- Garden Party
The really warm weather that we had last week may be gone for now, but signs of Spring still remain. This past weekend Hubbs and I finished moving oak bark mulch into the vegetable garden. (A big thanks to our adopted "son" Tim for moving...
- Gearing Up For Spring
Finally, after so many months of snow and Winter's icy grip, we were treated to a balmy, sunny weekend. Ahhhh....the promise of Spring....a much needed gift was bestowed upon us this weekend. And we took full advantage of it. We...
- Looking Ahead
Yesterday we woke up to the first hard frost (yes, we've had snow, but not a frost like this). All of the critters' water buckets were frozen. I guess it is time to plug in all the heated buckets. The leaves have finally turned, so the countryside...
Animals
Chicks, Tea, and a Tutorial
It's Friday, already.
Can you believe it?
Is it me, or does time fly by even more quickly once Spring arrives?
It was a great week...
warm temperatures and thunderstorms magically turned the grass green overnight.
I swear, one day it was brown, the next day....green!
The trees are budding, and weeds are growing like crazy.
I have spent many hours in the garden this week...
weeding and cleaning up garden boxes.
There is much planted, but so much more left to plant.
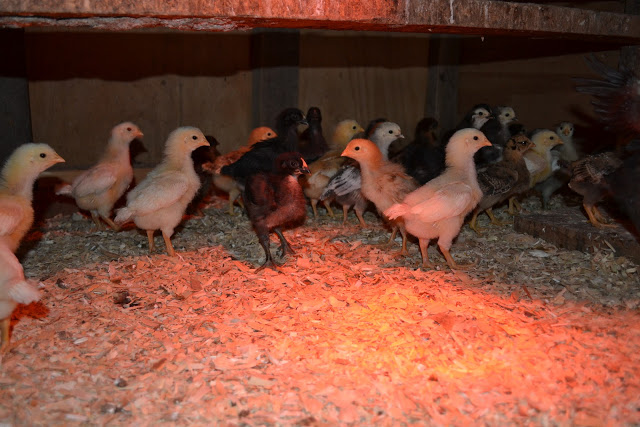
The chicklets are growing like weeds...they have doubled in size over the past week.
Happily, we have suffered no more losses.
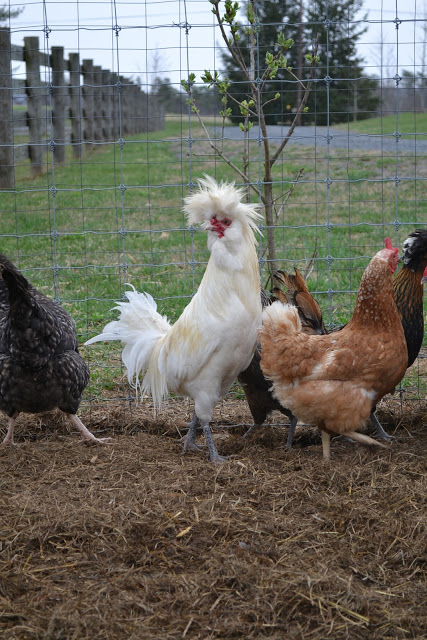
It has been a long time since I have featured our oldest Roo, Rod Stewart.
Check out the head feathers, and you will understand the name.

Rod and a handful of hens live in the chicken coop next to the barn.
Every morning he greets me with his rendition of Maggie May.
(ok, so I might be the only one who actually hears the tune...
but then, we all know I have a vivid imagination)
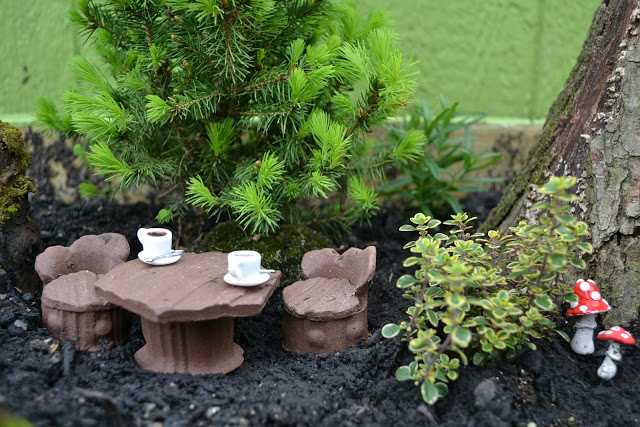
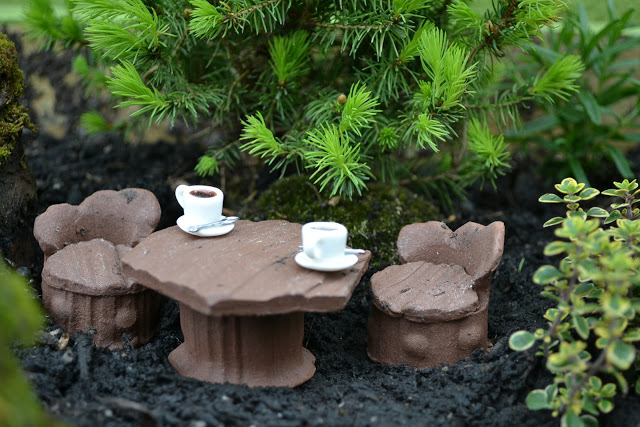
So to celebrate the end of the week, Chloe would like to invite you to tea.
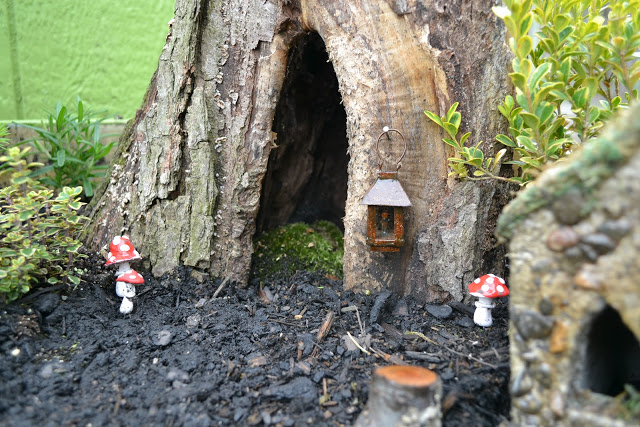
Tea, that is, in the fairy garden.
There is room enough for you and me...to sit a spell and sip some tea.
The tea is ready and the sweet rolls are in the oven.
Little by little this miniature world is taking shape.
And there is so much more to come!
Have a wonderful weekend.
I will, for sure, as I am keeping Tyler for the weekend.
He arrives at 4 today and will stay through Sunday!
Fun...fun!
*************************
Garden Box Tutorial
Since I have had many requests for garden box instructions,
I thought I would give you a quick tutorial for making a 4ft X 4ft box.
(Of course you can make whatever size you like.)
I have found that 4 ft boxes are easy to build, easy to use, and hold a lot of veggies.
Materials:
2X6 untreated wood in whatever length you choose
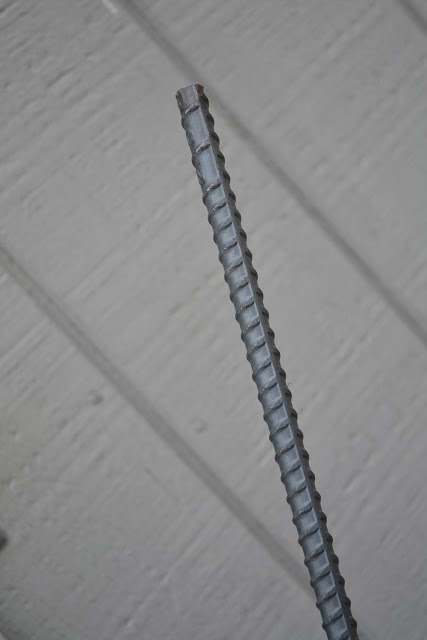
4 pieces of #3 size Rebar (.375 inch diameter) cut to the height you want your box
(plus several inches for pounding into the ground)
Jigsaw
Electric drill with large drill bit (bigger than the diameter of your rebar)
1. Cut your 2 X 6 wood to the length you desire... 4 ft lengths if you want a 4 ft. box
You will need four pieces for each level. Each level will be 6 inches high (approx)
I usually make my boxes 4 levels high....so I would cut 16 pieces.
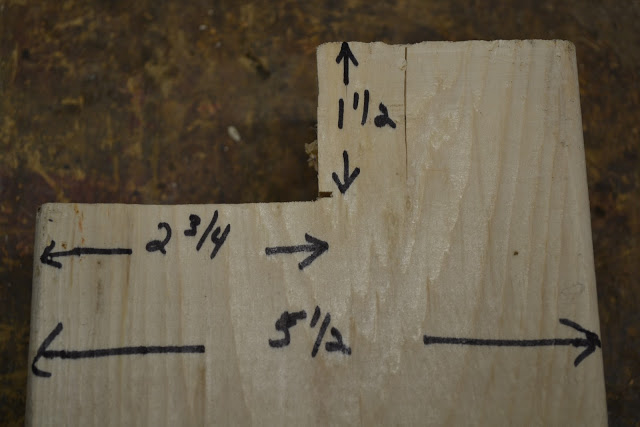
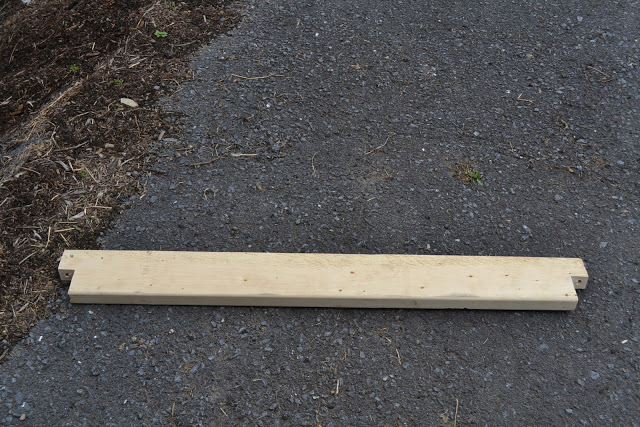
2. With your jigsaw, cut a notch in each end like this:
(you will notice that a 2X6 is not actually that size, but a little smaller)
Your finished piece should look like this:
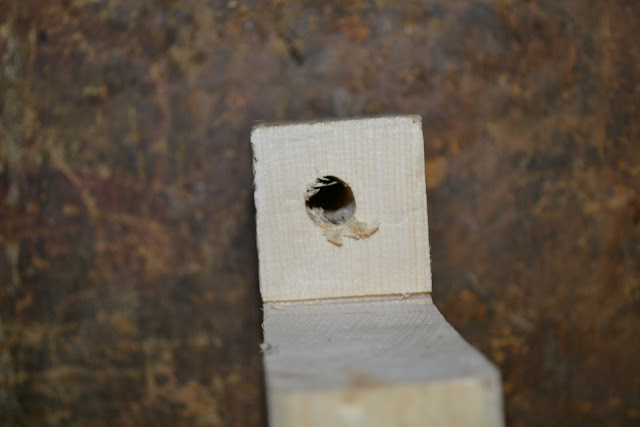
3. Drill a hole through the center of the tab that sticks out on each end like this:
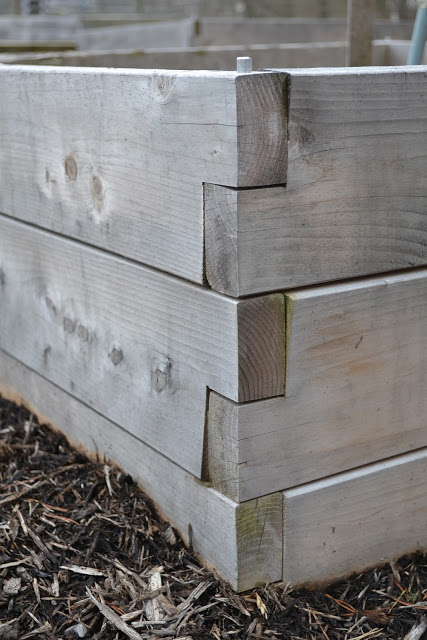
4. Stack your first level and place Rebar through the corner holes.

Thread remaining levels onto Rebar, stacking like this:

Before assembling the boxes, we covered the ground of our garden area with a very thick tarp.
We built our boxes on top of the tarp,
and then used a utility knife to cut the tarp out of the inside of the box.
(This helps to keep weeds from growing around the base of the box.)
Cutting the tarp out of the inside of the box allows for drainage.
We filled our boxes with a mix of topsoil and compost.
Over the years I have added more compost and peat moss.
I often top dress the box in the spring with a bag of organic garden soil.
(This helps to keep weeds from starting.)
A couple of years ago, I ordered worm eggs
and added them to the boxes just to boost my worm count.
We use mulch (tanbark) on top of the tarp between the boxes.
(Weeds do grow, but they are easy to pull...thanks to the tarps.)
- I'm Not Going Anywhere
Every once in a while, an evening comes alongwhen I say to myself..."Maybe I should stop writing this blog."That thought usually enters my mind at the end of a busy day...when all I want to do is go to sleep...not fight with Blogger or You-tube or any...
- In The Garden
It's official.Spring has signed on the dotted line...another three month lease...sending Winter back from whence he came. She wasted no time in unpacking her trunks...trunks full of new growth, and insects and song birds.In the process of moving in,...
- Garden Party
The really warm weather that we had last week may be gone for now, but signs of Spring still remain. This past weekend Hubbs and I finished moving oak bark mulch into the vegetable garden. (A big thanks to our adopted "son" Tim for moving...
- Gearing Up For Spring
Finally, after so many months of snow and Winter's icy grip, we were treated to a balmy, sunny weekend. Ahhhh....the promise of Spring....a much needed gift was bestowed upon us this weekend. And we took full advantage of it. We...
- Looking Ahead
Yesterday we woke up to the first hard frost (yes, we've had snow, but not a frost like this). All of the critters' water buckets were frozen. I guess it is time to plug in all the heated buckets. The leaves have finally turned, so the countryside...
